
Last updated November 17, 2026







Free design consultation - KraftMaid and Wellborn cabinet lines, Cambria and Silestone surfaces, and every tier from refacing to full custom laid out side by side
Kitchen Remodeling Maintenance Schedule: What to Do and When
Most kitchen maintenance advice was written for houses in humid climates, where the enemy is moisture and the calendar is built around mold and winter drafts. Las Vegas is the opposite problem. Here the sun does the damage, the water is hard, and the dry air pulls at cabinet joints and caulk lines in ways a coastal guide never addresses. Yet most schedules homeowners find online tell them to check for condensation and forget to mention window orientation at all, which matters when a quartz surface sits in direct afternoon sun for years. What follows is a month-by-month calendar built around how a kitchen in Las Vegas actually ages, from the pre-monsoon inspection most people skip to the hinge lubrication that prevents the squeaking that shows up 18 to 24 months after a remodel.
Quick Answer
A kitchen remodel should be maintained on a seasonal calendar, not a yearly one. In Las Vegas that means quarterly caulk and grout checks, pre-monsoon and post-monsoon inspections in late June and September, descaling faucets and sink rims every four to eight weeks based on water hardness, lubricating cabinet hinges and drawer slides twice a year, and protecting quartz and cabinets from direct UV exposure year-round. Anything that touches plumbing, electrical, or warranty terms is a job for a licensed professional, not a weekend project.
Styles & brands we work with
- Shaker
- Modern flat-panel
- Two-tone cabinets
- KraftMaid
- Cambria quartz
- Butcher block
- Open shelving
Table of Contents
- Why a Las Vegas Kitchen Ages Differently Than the Guides Assume
- The Las Vegas Seasonal Maintenance Calendar
- Pre-Monsoon and Post-Monsoon Inspections Most Homeowners Skip
- Hard Water Descaling: Faucets, Sink Rims, and Disposal Flanges
- Cabinet Hinge and Drawer Slide Lubrication Schedule
- Grout and Caulk Inspection Protocol
- Which Tasks Are Safe to DIY and Which Void Warranties
- Caring for Quartz, Cabinets, and Fixtures by Brand Line
Why a Las Vegas Kitchen Ages Differently Than the Guides Assume
Las Vegas gets roughly 294 sunny days a year, and that number changes how a kitchen wears. Sunlight through an east or west window lands on the same stretch of countertop and the same run of cabinet faces every day for years. Quartz manufacturers void warranties for UV-related yellowing caused by direct sun exposure, and yet most maintenance calendars written for humid climates never mention window orientation at all. If your kitchen sink or prep zone fills with direct afternoon light, that stretch of surface needs shade or a window film treatment, not just a wipe-down.
The other desert factor is the swing between indoor and outdoor humidity. Summers run monsoon-muggy for a few weeks and winters are bone dry the rest of the year. Wood cabinets respond to that swing by expanding and contracting, which is why door alignment drifts, hinges loosen, and caulk lines crack in a kitchen that looked perfect two years earlier. It isn’t a defect. It’s a dry climate doing what dry climates do, and a maintenance calendar that anticipates the movement prevents most of it.
There’s also the dust. Las Vegas sits in a valley where wind carries fine particulate grit that settles on cabinet tops, range hoods, and drawer slides alike. Grit in a drawer glide is sandpaper. Regular cleaning matters more here than in a climate where the air is filtered by daily rain. When we plan Valor Kitchen Remodeling projects, the conversation about materials always includes how they’ll be maintained in this specific environment, because a beautiful kitchen that’s maintained on the wrong schedule doesn’t stay beautiful.
The Las Vegas Seasonal Maintenance Calendar
A once-a-year deep clean is not a maintenance schedule. What a kitchen in Las Vegas needs is a rhythm that follows the desert’s own seasons, with the heaviest checks before the summer heat and after the late-summer rains. Here’s the calendar we recommend to homeowners across the valley, from Summerlin to Henderson.
- January through February (dry winter): Walk every cabinet run and look for gaps along the wall and ceiling. Dry indoor air shrinks wood and opens seams. Re-caulk where needed and check that doors still close flush. This is also the best window to inspect quartz edges and seams for any chipping.
- March through May (warming season): Descale faucets and sink rims, then clean range hood filters thoroughly. As temperatures climb, the hood runs more often and grease builds faster. Check window coverings on any west-facing kitchen window before strong sun season arrives.
- Late June (pre-monsoon): Inspect caulk around the sink perimeter, range surround, and backsplash corners. Service the disposal and check the p-trap for slow leaks before humidity rises. This is the inspection most homeowners skip.
- July through August (monsoon): Watch for swelling cabinet doors, sticking drawers, and any change in countertop seams. Keep humidity in check with the home’s climate system.
- September (post-monsoon): Re-inspect every caulk line that saw humidity, look for water staining on cabinet interiors near the sink, and re-check door alignment and hinge tightness. This is the second inspection most homeowners skip.
- October through December (cooling season): Lubricate hinges and drawer slides ahead of the dry months, deep-clean cabinet exteriors and tops, and touch up any finish wear on cabinet faces before the dry air works on them.
Two inspections a year that almost nobody does, pre-monsoon and post-monsoon, catch the majority of problems before they become repairs. If your kitchen was recently finished through a full kitchen remodeling project, start this calendar on day one rather than waiting for the first squeak.
Pre-Monsoon and Post-Monsoon Inspections Most Homeowners Skip
The North American monsoon brings a few weeks of genuine humidity to Las Vegas each summer, and kitchens respond to it. Caulk that has dried and pulled away from a countertop edge lets moisture in during those weeks, and wood cabinets absorb it. The pre-monsoon check in late June is about sealing the kitchen before the humidity arrives. The post-monsoon check in September is about finding what got through.
For the pre-monsoon inspection, work through these steps:
- Run your finger along every caulk line at the sink perimeter, range surround, and backsplash corners. Any line that’s cracked, shrunk, or pulling away needs re-caulking before humidity hits.
- Open every cabinet under the sink and look for staining, soft wood, or a musty smell. That’s early water intrusion, and it’s much cheaper to fix in June than in October.
- Check that the disposal and p-trap connections are snug. A slow drip that dries in winter becomes a wet cabinet interior in summer.
- Look at the range hood venting and the exterior wall penetration. Any gap lets humid air in and lets cool air out.
The post-monsoon check reverses the process. Inspect every caulk line again, look for swelling in cabinet doors and drawer fronts, check for water staining on cabinet interiors, and re-tighten any hinge that loosened over the humid weeks. If the kitchen was installed to spec, most of these lines will hold fine. If they don’t, the earlier you catch it, the less expensive it is.
Hard Water Descaling: Faucets, Sink Rims, and Disposal Flanges
Las Vegas water is hard, and hard water leaves mineral deposits that attack the finish on fixtures and the seal at a sink rim. Faucets and their aerators are the first place you’ll see it, but the buildup that matters most happens at the undermount sink rim and the disposal flange, where a thin line of scale loosens the seal between sink and countertop over time. The right descaling interval depends on how hard your specific water is and how often the sink gets used, so most kitchens in Las Vegas benefit from a descaling every four to eight weeks.
The process is simple. Soak the faucet aerator in white vinegar for about 15 minutes, rinse, and reinstall. Wipe down fixtures with a diluted vinegar solution and dry them completely. For sink rims and disposal flanges, apply a vinegar-soaked cloth for a few minutes, then scrub the seam gently with a soft brush and dry. Never use an abrasive pad on a fixture finish. Water spots and mineral films come back quickly in Las Vegas, so a wipe-down after each use is the cheapest defense.
The fixtures themselves matter for long-term scale resistance. Kitchens we plan around Kohler, Moen, and Blanco fixtures are chosen for longevity and for the availability of replacement parts when a finish finally wears, not just for looks. A low-quality fixture turns hard water descaling into a replacement job within a few years. A well-made one responds to a regular descaling routine for a decade or more. If you’re choosing sinks and faucets as part of cabinet installation planning, make those fixture choices with the maintenance routine in mind.
Cabinet Hinge and Drawer Slide Lubrication Schedule
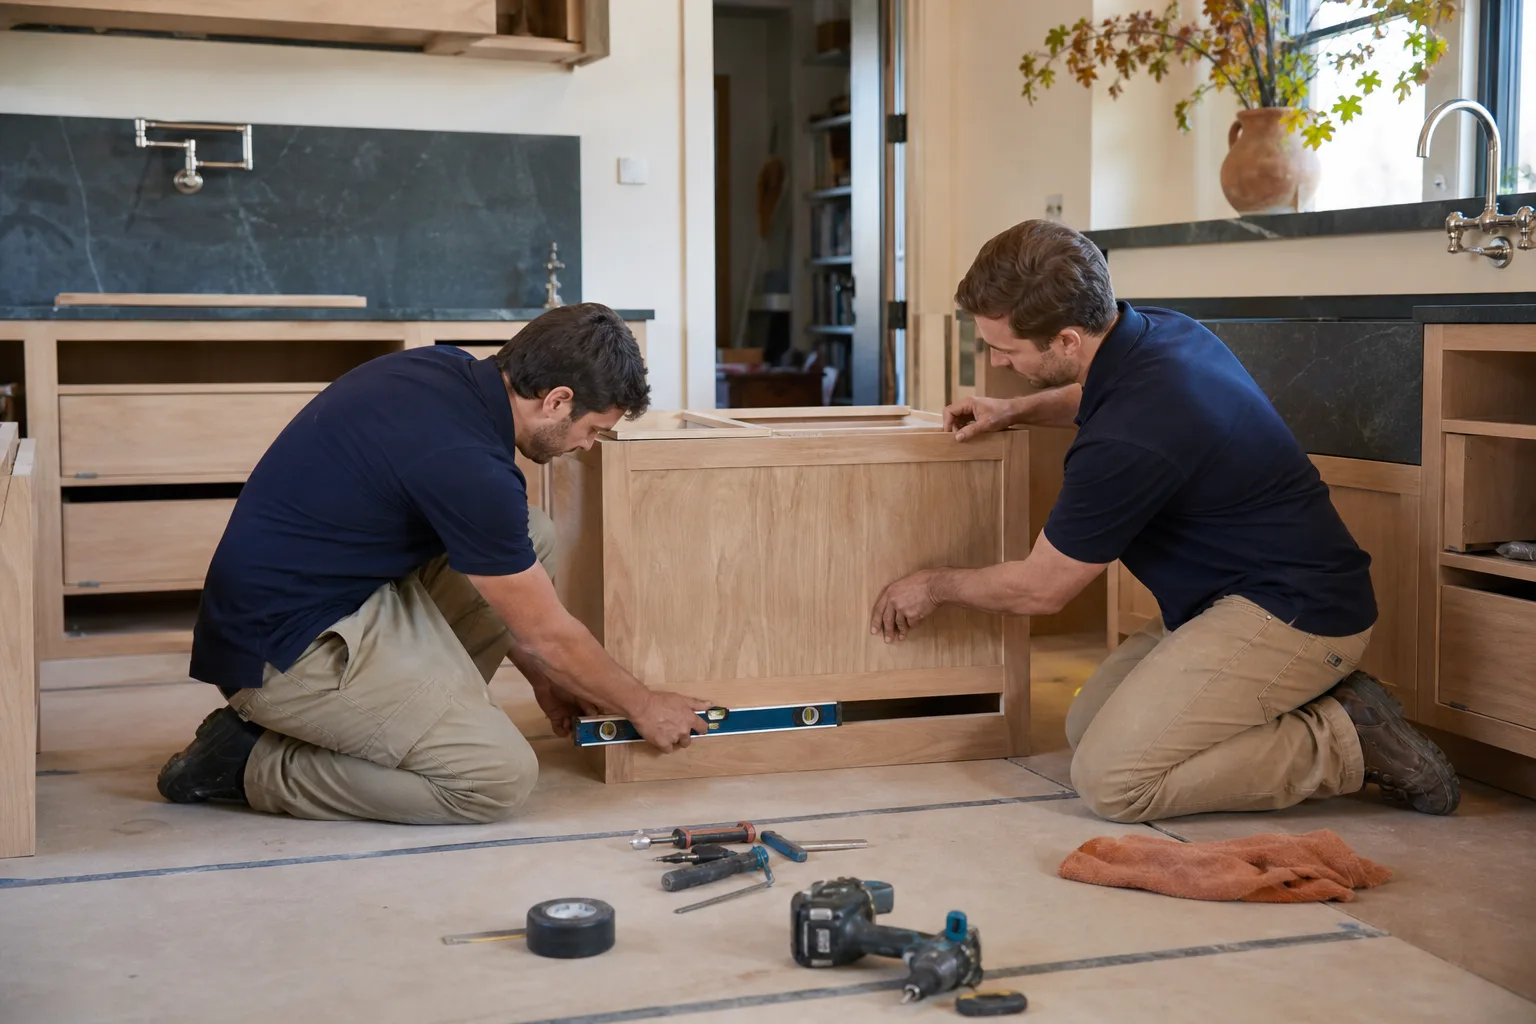
If you want to prevent the squeaking and misalignment that shows up 18 to 24 months after a cabinet install, lubricate hinges and drawer slides twice a year. It sounds too simple to matter, but hinge and slide hardware is where a kitchen makes its first audible complaint. In Las Vegas, dry air and airborne grit both accelerate wear on moving parts, and a hinge that starts to groan is already working harder than it should.
Here’s the routine to follow:
- Wipe down every hinge and slide with a dry microfiber cloth first. Don’t lubricate over grit; that grinds it in.
- Use a silicone-based lubricant on hinges and drawer slides. Avoid standard household oil, which attracts dust and gums up.
- Open and close each door and drawer a few times after lubricating, to work the product into the moving surfaces.
- Check adjustment screws on every door and drawer. A quarter-turn on the right screw fixes a door that’s started to sag before it becomes a hinge replacement.
The other half of the routine is cleanliness. Fine desert dust settles inside the cabinet and on the slides over months. A yearly vacuum of drawer interiors and a wipe-down of the slides keeps that dust out of the mechanism. Cabinets from KraftMaid are built with hardware designed to last, but the hardware still needs a schedule. When you’re looking at cabinet lines, ask about the hinge type and whether the slides are adjustable, because those are the parts you’ll be maintaining.
Grout and Caulk Inspection Protocol
Caulk fails first at the corners, second around the range surround, and third at the sink perimeter. That’s the order to check in, and it’s the order in which a small failure becomes a water damage problem if it’s ignored. If you only have ten minutes a month, spend it on those three areas.
Early failure looks like a hairline crack in the caulk bead, a place where the caulk has pulled back from the tile or countertop, or a spot that stays darker than the surrounding caulk. If any of those appear, re-caulk before the next wet season. In a Las Vegas kitchen, that’s pre-monsoon or post-monsoon, whichever is closer. Grout lines get the same treatment: a dark or soft line of grout behind a backsplash or at a countertop seam is a sign moisture has already found its way in.
- Corners first. Where two surfaces meet, movement is greatest. These crack first in a dry climate.
- Range surround second. Grease and heat break down caulk faster here than anywhere else.
- Sink perimeter third. Water pooling at the rim tests the seal every day.
- Countertop seams. Check where two quartz panels meet. These are the seams most likely to show a hairline crack.
Use a silicone caulk rated for kitchens and bathrooms, not a painter’s caulk, and let it cure fully before exposing it to water. If you can stick a fingernail into the caulk and it dents, it’s too soft for the wet zone. This is one job most homeowners can do well, but if you’re re-caulking over failing caulk on a countertop that’s under warranty, the fix isn’t always just caulk.
Which Tasks Are Safe to DIY and Which Void Warranties
Maintenance and repair aren’t the same thing, and mixing them up is where homeowners get into trouble. Cleaning, descaling, lubricating, and re-caulking are maintenance. Anything that involves disconnecting a fixture, adjusting a cabinet’s hardware configuration, or repairing a countertop is a repair, and repairs have warranty implications.
Safe to do yourself, on a schedule:
- Cleaning cabinet faces with a mild soap solution and a soft cloth
- Descaling faucets, sink rims, and disposal flanges with a vinegar solution
- Lubricating hinges and drawer slides with a silicone lubricant
- Re-caulking at a sink perimeter or backsplash corner with a kitchen-rated silicone
- Vacuuming drawer interiors and wiping dust from cabinet tops
Where to call a professional instead:
- Removing a faucet or disposal to check the supply or drain connection
- Repairing a chip, crack, or seam in a quartz countertop
- Adjusting or replacing cabinet hinges, drawer slides, or soft-close mechanisms
- Any work near the electrical outlet, light switch, or under-cabinet lighting wiring
- Resealing a countertop that’s pulling away from the wall or cabinet on more than a hairline level
Warranty language varies by brand, and patching a countertop with the wrong product or grinding a hinge with an abrasive can void a good warranty claim. When in doubt, read the manufacturer’s maintenance terms before you act. Quartz lines in particular specify approved cleaners and void coverage for improper products, mismatched sealants, or UV damage that a homeowner tried to correct.
Caring for Quartz, Cabinets, and Fixtures by Brand Line
Material-specific maintenance is where a generic schedule falls apart. A quartz surface, a painted cabinet door, and a stainless sink need different routines, and doing the wrong one accelerates the very wear you’re trying to prevent. Here’s how the products we work with most often want to be treated.
Quartz surfaces. Cambria, Silestone, and Caesarstone all reward the same discipline: mild soap and water, a soft cloth, and no abrasives. A quartz surface is non-porous and doesn’t need sealing, so skip any sealer product and skip acidic cleaners that can dull the finish over time. Sun exposure is the bigger factor in Las Vegas. A countertop that fills with direct afternoon light for years can yellow, and that’s why protecting it with window coverings or film matters more here than in most places. A mild dish soap solution is the routine. A multi-surface cleaner with abrasives is not.
Cabinets. KraftMaid and Wellborn cabinets are built with different construction methods and different finishes, so the cleaning routine differs. Painted finishes want a damp cloth and mild soap, and a matte painted finish should never be scrubbed with a wet-heavy cloth. Stained wood finishes want the same gentle routine but benefit from an occasional polish designed for the finish type. Never use an all-purpose cleaner with ammonia on a painted cabinet. Never scrub a finished surface with an abrasive pad. Dust buildup on cabinet tops is a Las Vegas constant, so add a monthly wipe-down to the calendar.
Fixtures and sinks. Kohler, Moen, and Blanco products are made to survive hard water and frequent cleaning if they’re treated right. Vinegar solutions work for descaling. Abrasive pads and bleach don’t, and they shorten the life of a good finish. A deep sink with a well-made undercoat resists condensation better, which matters less in a desert, but the rim seal still needs the descaling routine above.
If your kitchen is due for a full refresh and the maintenance conversation is getting ahead of the remodeling plan, that’s a good sign it’s time to plan the remodel properly. Every Las Vegas kitchen we plan is built with the maintenance schedule in mind, so the products and finishes stop fighting their environment.
Common Mistakes to Avoid
- Following a humid-climate calendar. Checking for condensation and mold is fine, but in Las Vegas the primary threats are UV, hard water, and dryness. Building a calendar around the wrong factors wastes effort and misses the real wear points.
- Using abrasive cleaners on quartz. A scrub sponge or a powder cleaner dulls a quartz finish over time. Soap and water is the correct routine, and any product with abrasive grit does more harm than good.
- Ignoring window orientation. A quartz surface or a cabinet face in direct sun all year ages faster than the rest of the room. Sun shade, window film, or a cover is not an aesthetic choice in Las Vegas, it’s protection.
- Waiting for the squeak before lubricating. Hinge and drawer hardware has its own schedule. Lubricating twice a year prevents the squeak, and waiting until the sound starts is already late.
- Skipping the pre-monsoon and post-monsoon checks. These two inspections catch most water intrusion and swelling issues before they become repairs. The homeowners who skip them are the ones paying for cabinet repairs in the fall.
- Re-caulking without addressing the underlying leak. If the sink perimeter caulk is failing, the cause may be a slow drip behind it. Fresh caulk over moisture is a repeating problem, not a fix.
- Using a generalist for kitchen repairs. A contractor who splits attention across many trades may not have the fixture and cabinet hardware expertise to handle warranty-safe repairs correctly. A kitchen specialist does.
See the difference
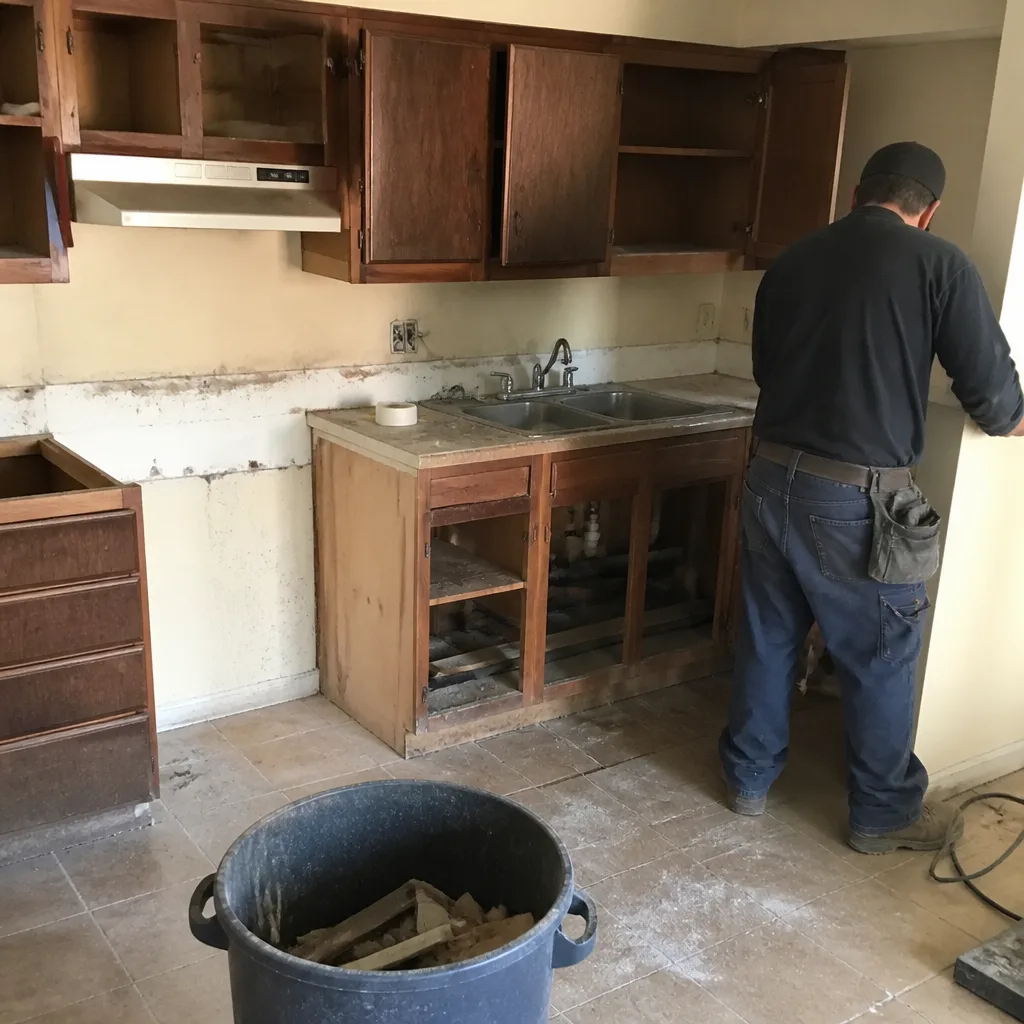 Before
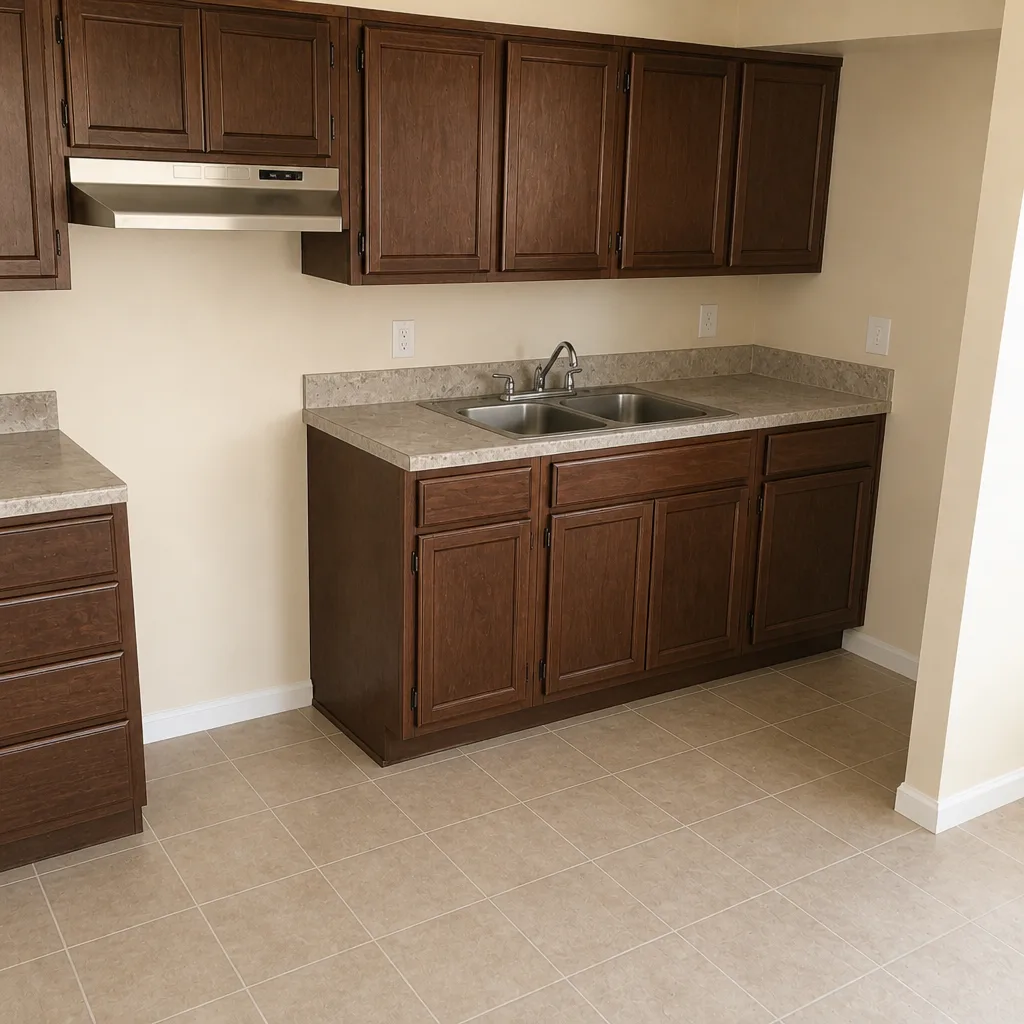 After
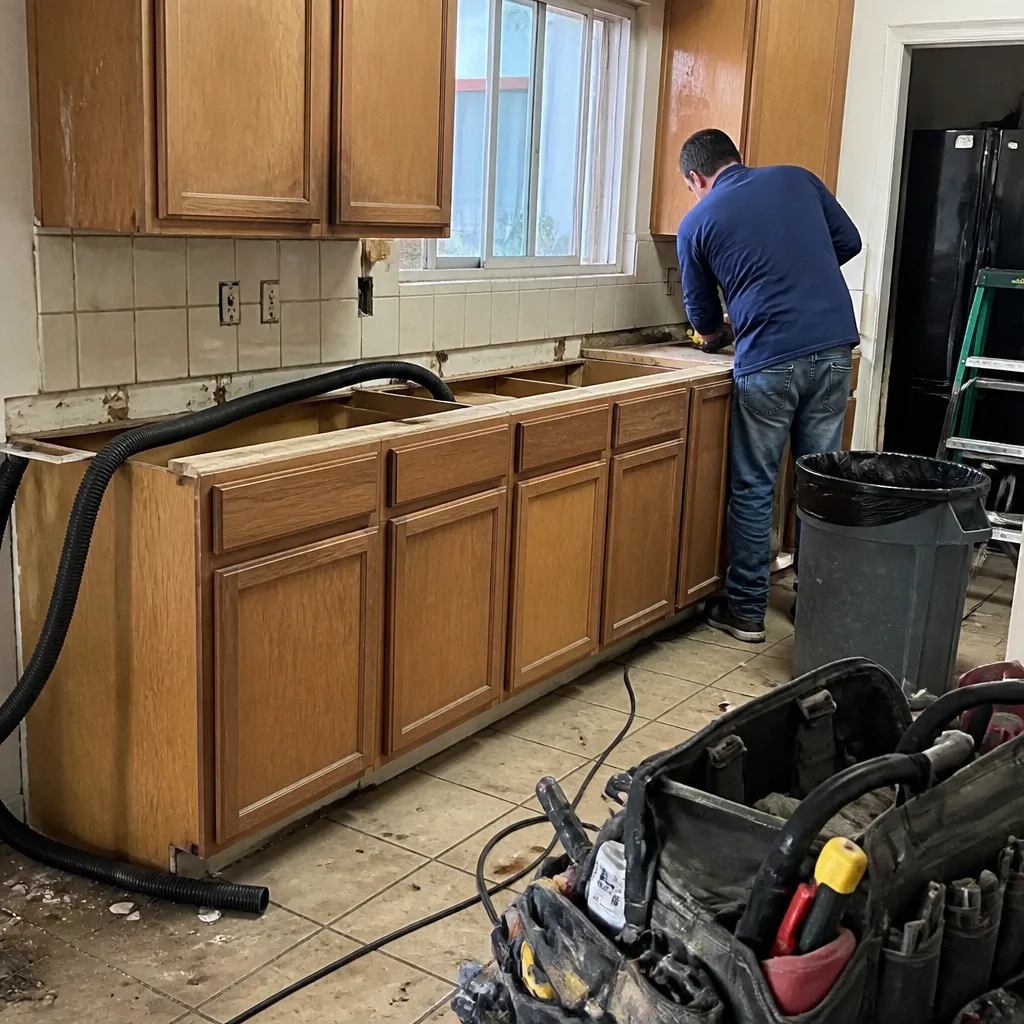 Before
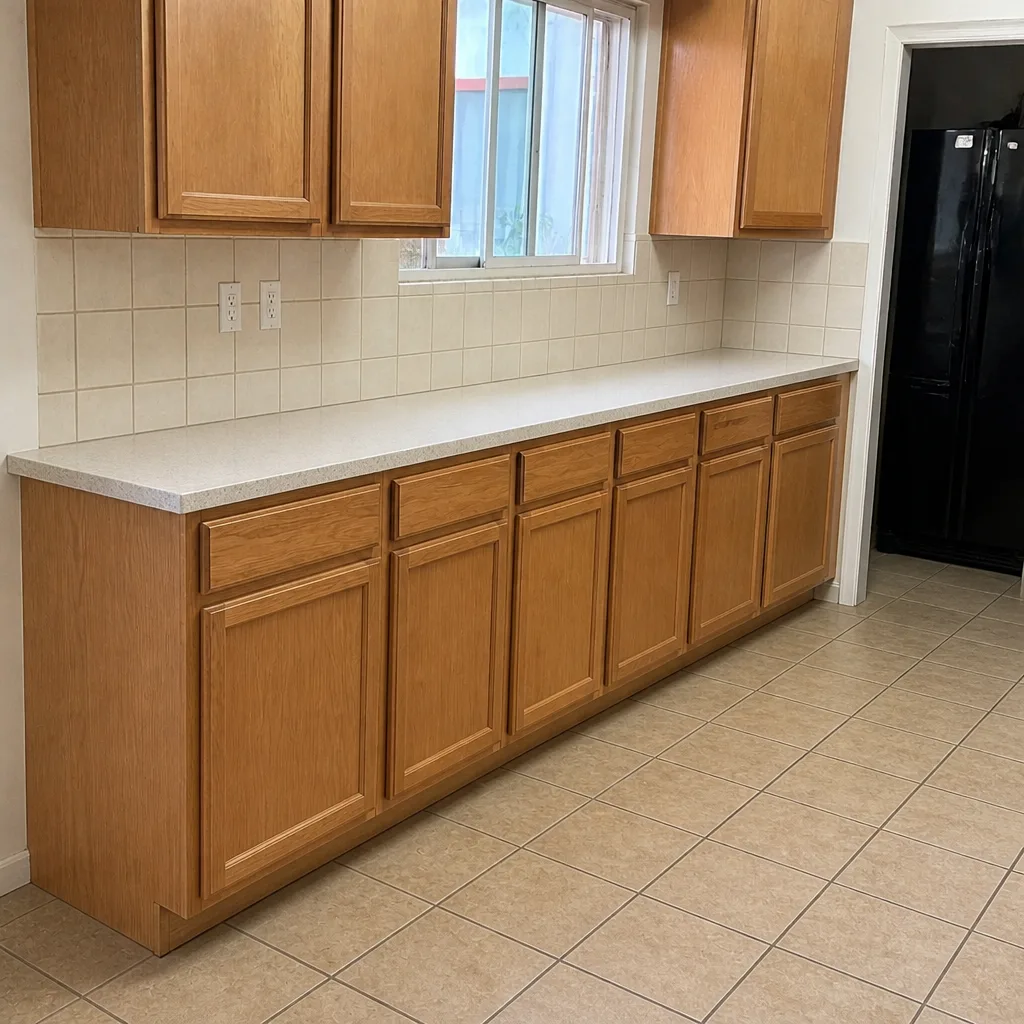 After
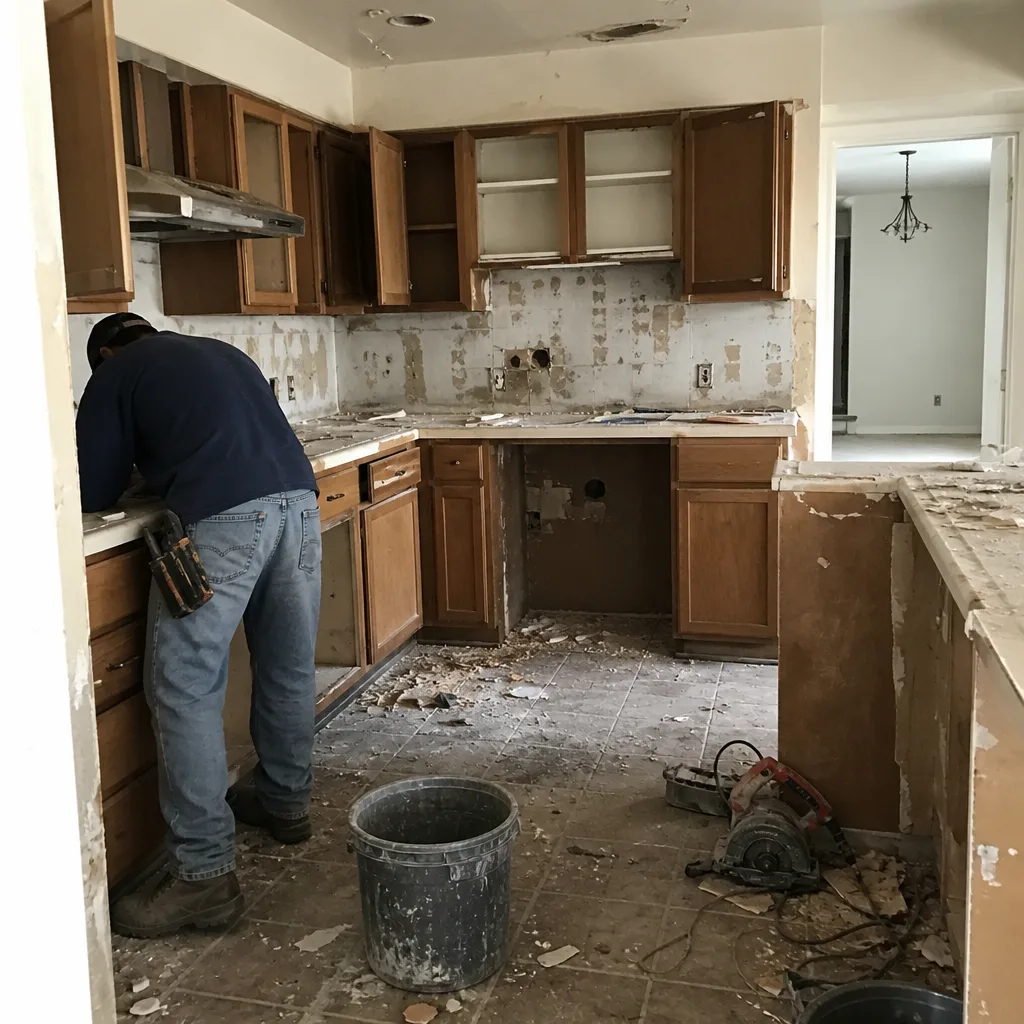 Before
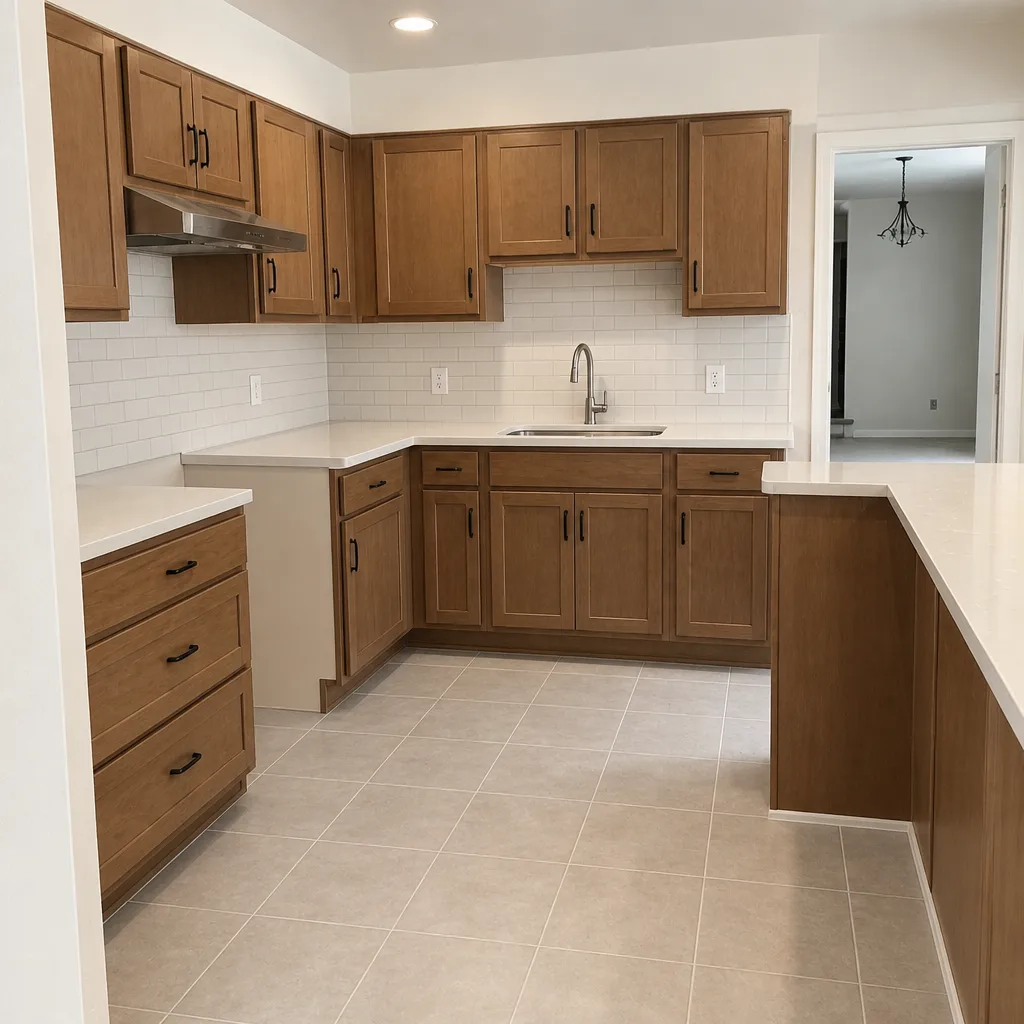 After
When to Call a Professional
Some kitchen maintenance belongs on your calendar. Some signs mean a professional should look at it. Call for help if you find soft wood inside a sink cabinet, if a countertop seam has chipped or pulled apart, if a cabinet door won’t hang square after a hinge adjustment, if a faucet or disposal connection is dripping, or if a quartz surface shows a color change that looks like sun damage. These are the signs that a maintenance issue has become a repair, and getting ahead of it avoids a bigger replacement. A kitchen specialist handles this work with the brand expertise to keep the repair within the product’s warranty terms. Valor Kitchen Remodeling offers free estimates in Las Vegas. Call (844) 797-6597. We answer 24/7. Fast dispatch from 7am to 7pm, Sunday through Friday. For fixtures and cabinet hardware, our technicians have up to 9 years of experience working with the products that need this kind of care.
Frequently Asked Questions
At least quarterly, with the most important checks in late June before monsoon humidity and in September after it. Corners, the range surround, and the sink perimeter are the priority areas. If anything is cracked or pulling away, re-caulk before the next wet stretch. If the failure is beyond a hairline, call (844) 797-6597 for a free estimate on the repair.
Yes, and the damage shows up at the sink rim and the disposal flange before anywhere else. Las Vegas water leaves mineral scale that loosens the seal between sink and countertop if it isn’t managed. A descaling every four to eight weeks, using a mild vinegar solution and a soft cloth, keeps the scale in check. If a seal has already failed, call (844) 797-6597 to schedule a repair estimate.
Protect the surface from direct UV exposure with window coverings or film, and clean with mild soap and water. Quartz manufacturers void warranties for sun-related yellowing, so the protection step matters more than the cleaning step. If you’re already seeing a color change, call (844) 797-6597 for a free estimate to assess whether the surface can be corrected or needs replacing.
The first complaints usually show up 18 to 24 months after installation, and the schedule that prevents them is lubrication twice a year. Wipe the hardware down first, apply a silicone-based lubricant, and work each door and drawer a few times. If a hinge fails or a drawer needs replacement hardware, call (844) 797-6597 for a free estimate on the repair.
Re-caulking at a sink perimeter or a backsplash corner is reasonable DIY maintenance if you use a kitchen-rated silicone and the old caulk is fully removed. Patching a quartz seam, repairing a chip, or re-setting anything that’s pulling apart beyond a hairline should go to a professional, because the wrong product can void a warranty. Call (844) 797-6597 for a free estimate if you’re not sure.
Minor adjustments, like tightening a screw or a quarter-turn on an adjustment cam, are usually fine for a homeowner. Replacing a hinge, converting from a standard to a soft-close mechanism, or correcting a door that’s out of square is best left to a specialist, because the wrong adjustment can strip the cabinet or void a warranty. Call (844) 797-6597 for a free estimate on cabinet hardware work.
The Bottom Line
A kitchen in Las Vegas needs a maintenance schedule built for desert conditions: quarterly caulk and grout checks, pre-monsoon and post-monsoon inspections, regular descaling of fixtures and sink rims, twice-a-year hinge lubrication, and constant awareness of sun exposure. The materials in your kitchen, whether it’s a Cambria quartz surface or a KraftMaid cabinet, are chosen to last, but the schedule is what keeps them looking and working right. Do the routine maintenance yourself. Call a specialist for anything that touches a warranty, a seam, or a fixture connection. That split is the whole game, and it’s why the kitchens we plan are designed for the calendar they’ll actually live in. Call (844) 797-6597 to schedule your free estimate. We answer 24/7. Fast dispatch from 7am to 7pm, Sunday through Friday.
Written by the team at Valor Kitchen Remodeling.